What to Expect at Your Pre-Drywall Walkthrough When Purchasing a New Construction Home
Buying a new construction home is an exciting milestone, especially here in Colorado, where builders seamlessly blend modern design with mountain-inspired craftsmanship and energy-efficient features. One of the most important moments in the building process is your pre-drywall walkthrough. This is your opportunity to step inside the “bones” of your home before the walls are closed and finishes begin, offering a behind-the-scenes look at how everything is coming together.
This walkthrough provides clarity, confidence, and peace of mind, ensuring your home is being built exactly as planned before everything is sealed behind drywall.
Here’s what to expect and how to make the most of it.
Why the Pre-Drywall Walkthrough Matters
Before insulation and drywall go up, you’re able to see the structural, mechanical, plumbing, and electrical systems that support how your home functions every day. Once those walls are closed, these systems are hidden, making this stage a critical checkpoint for accuracy and quality.
For Colorado buyers in particular, this phase also confirms your home is being built to withstand our unique climate conditions, including temperature swings, snow loads, soil movement, and strict energy-efficiency standards.
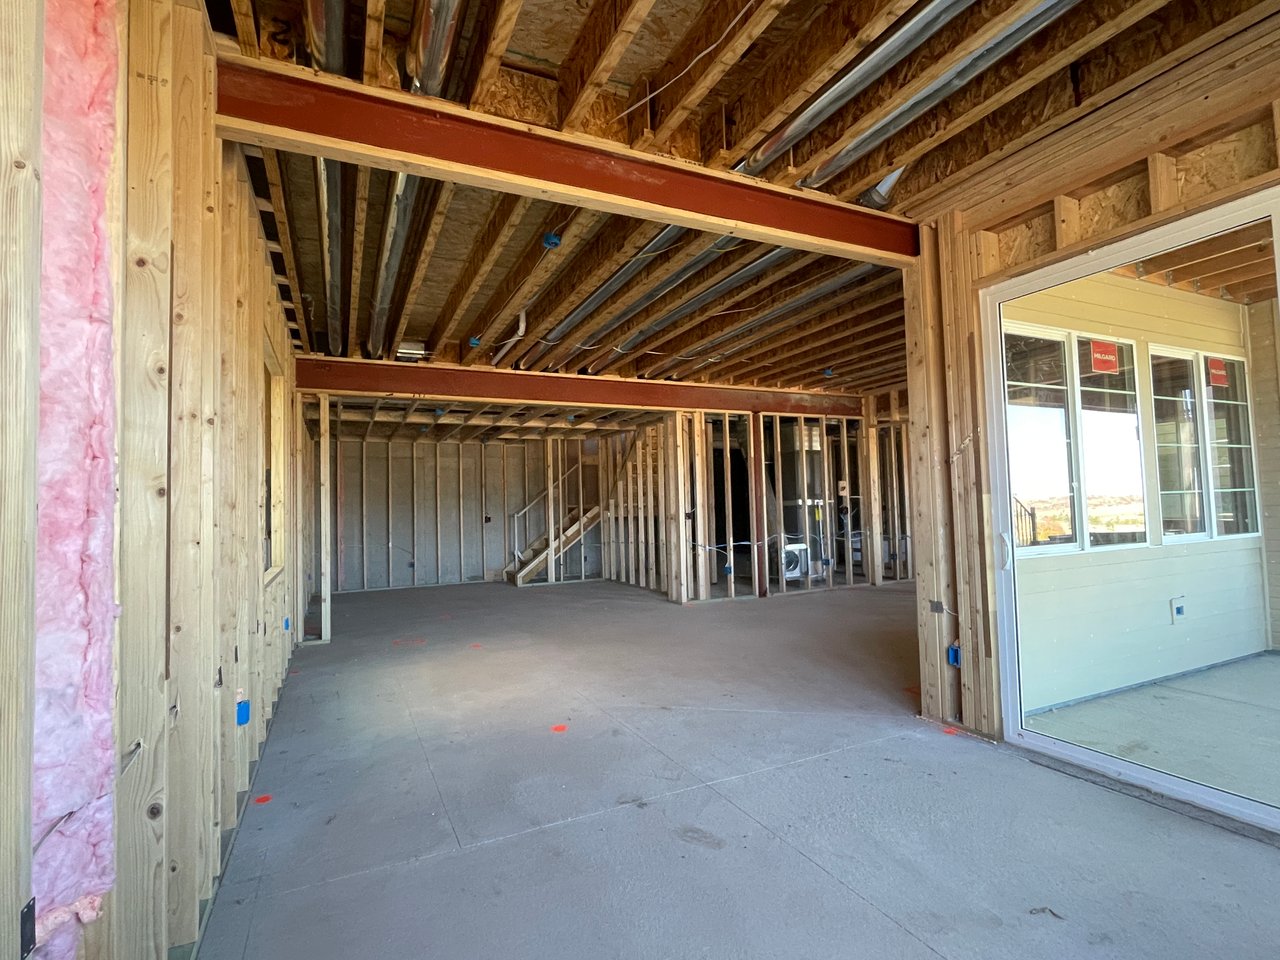
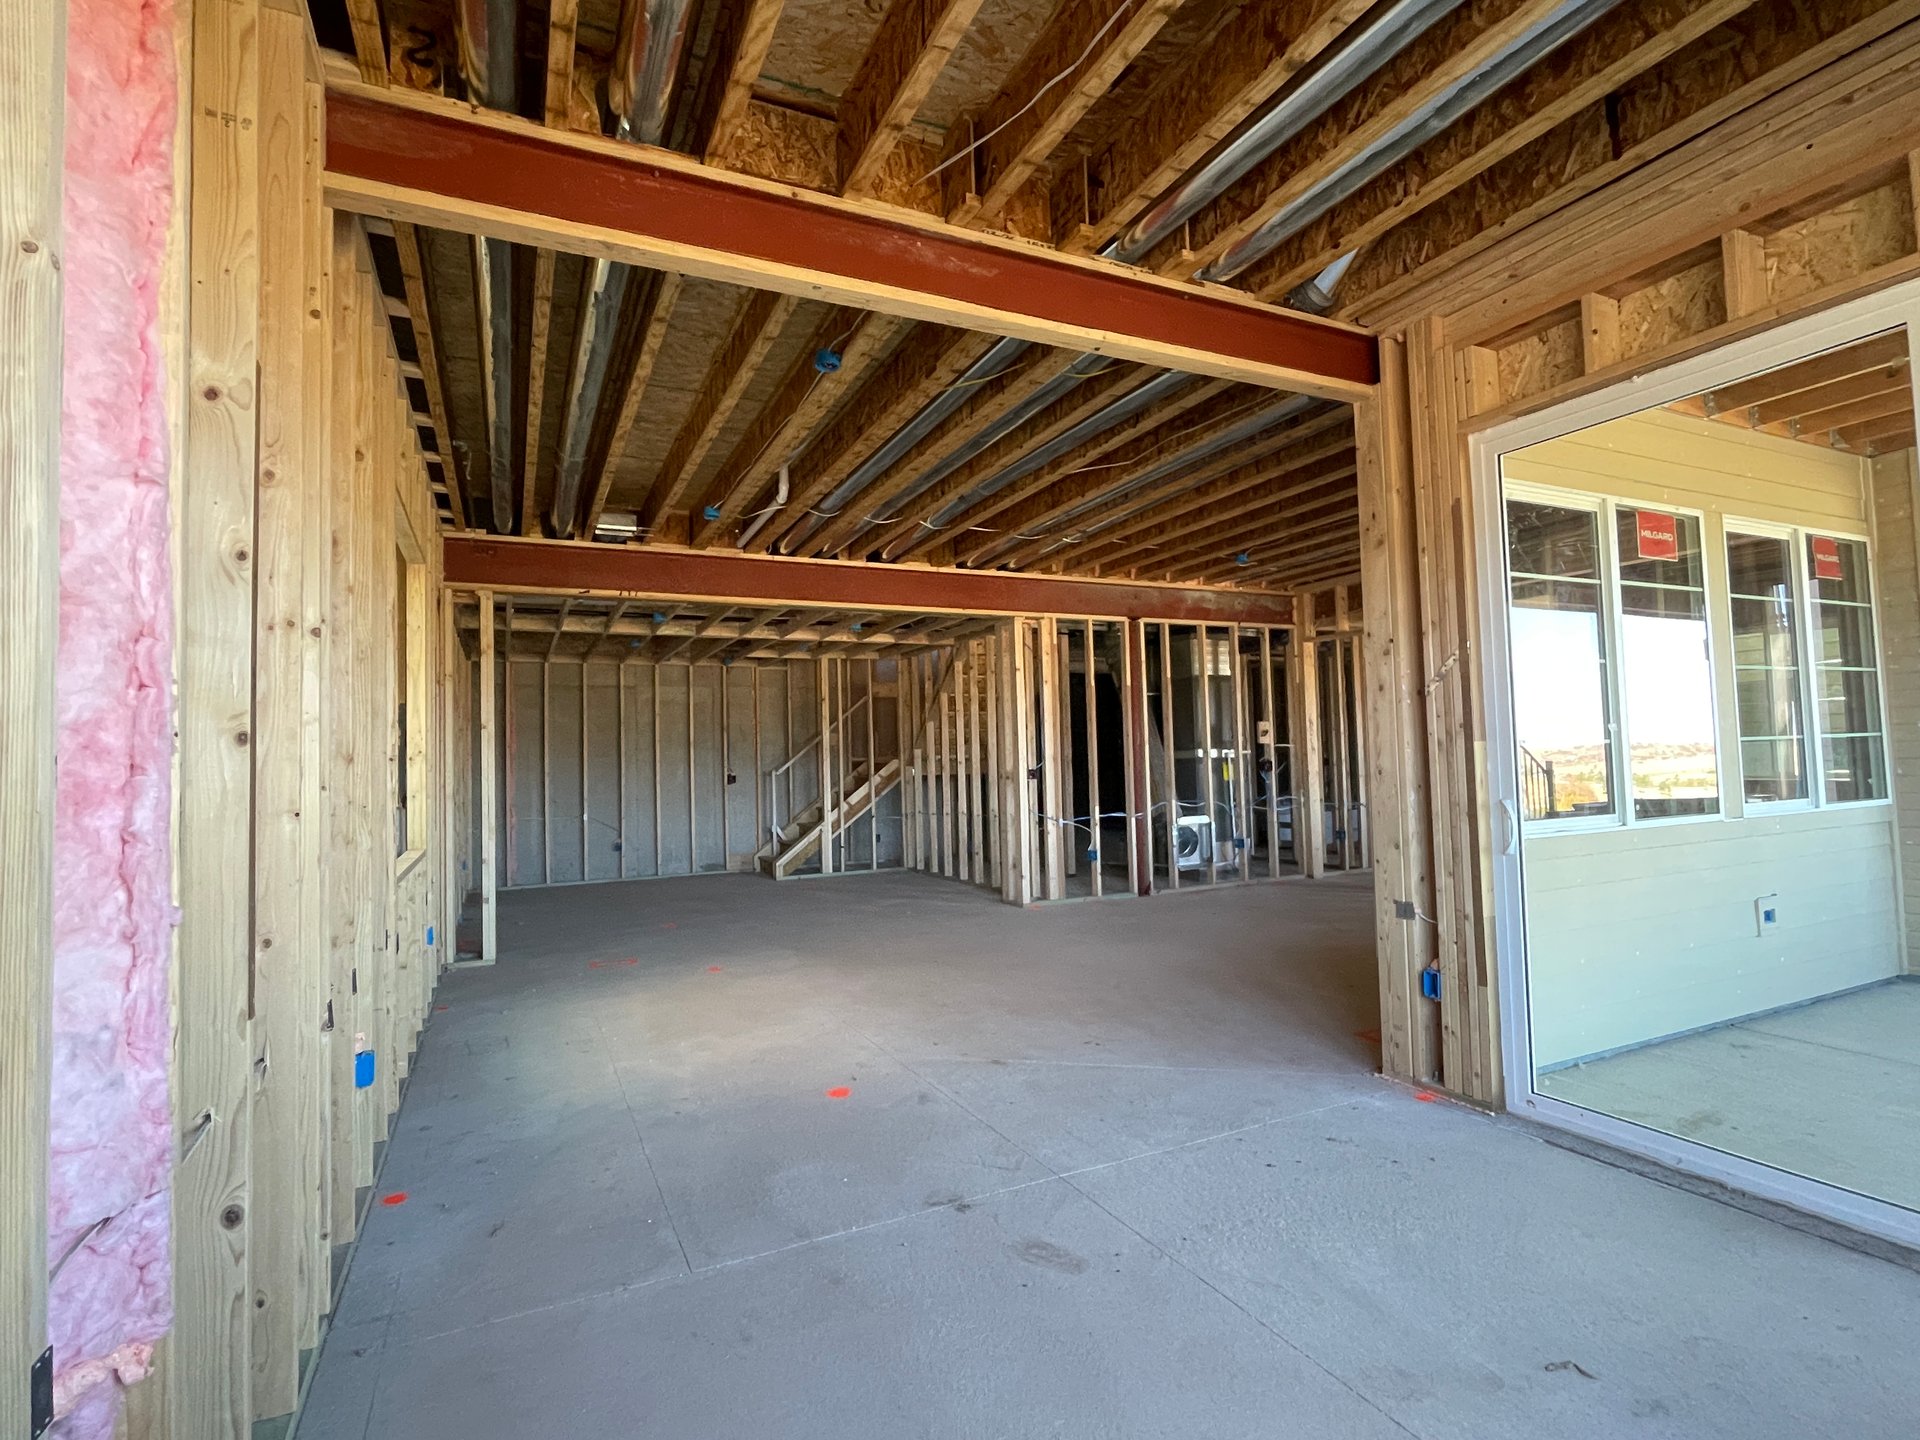
1. Reviewing the Structural Components
Your construction superintendent will walk you through the home’s framing and foundational elements, including:
- Basement or slab foundation
- Load-bearing walls and beams
- Window and door placements
- Roof trusses and attic access points
- Crawlspace or basement framing
This is your chance to understand the structure that will support your home for years to come, so feel free to ask questions!
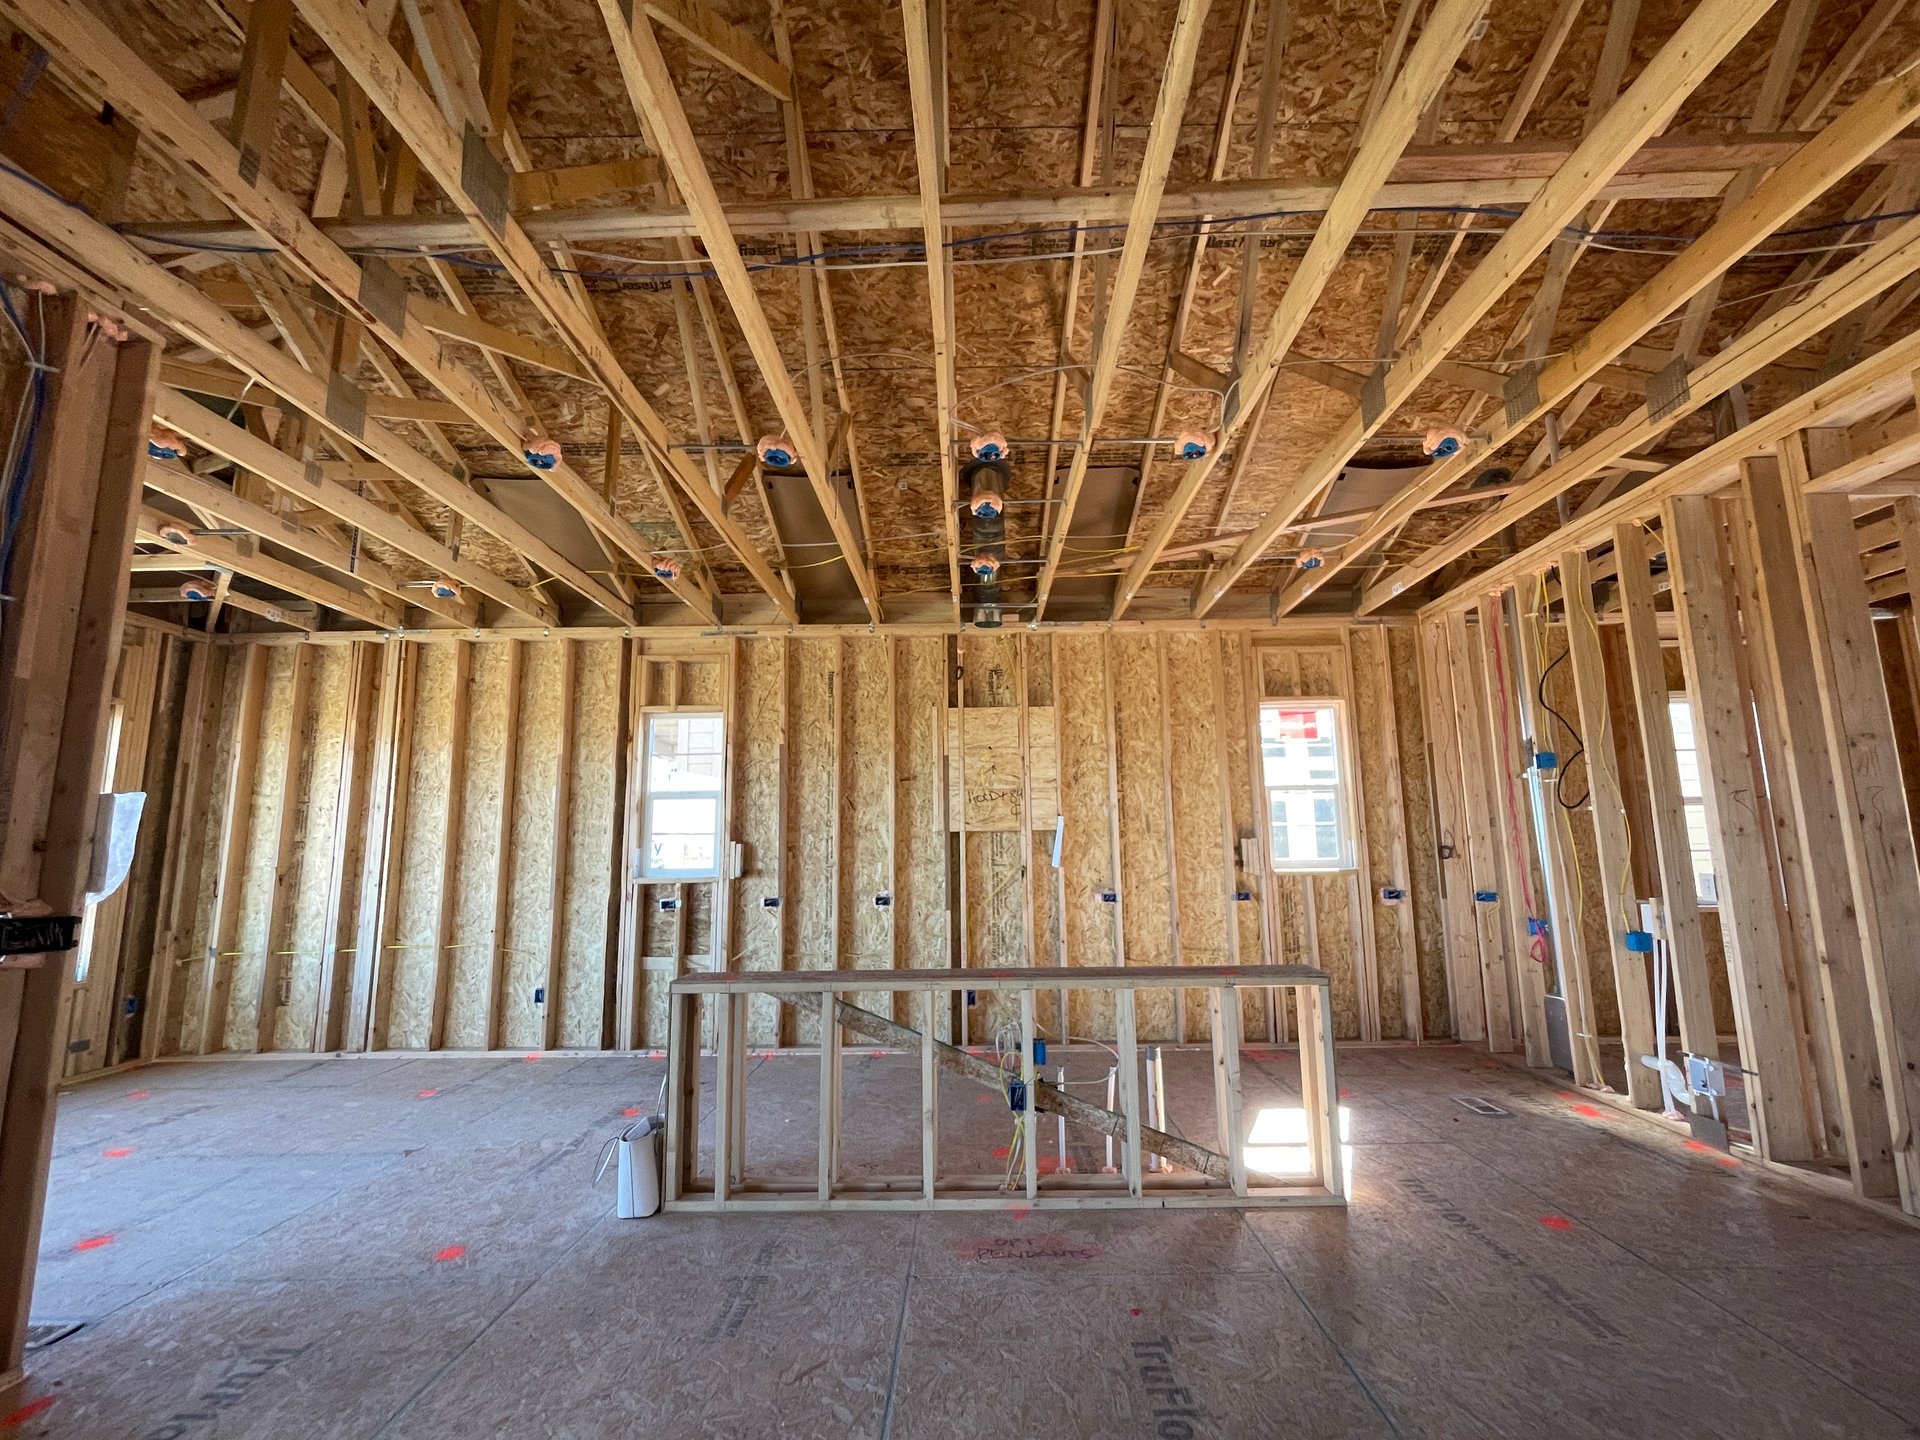
2. Electrical and Lighting Layout
Lighting and functionality are top priorities for many Colorado buyers, especially with our bright days and darker winter mornings. During this portion of the walkthrough, you’ll review:
- Placement of recessed lights, pendants, and sconces
- Locations of switches and electrical outlets
- Wiring for ceiling fans, TV mounts, and smart-home systems
- Rough-ins for electric vehicle chargers, security systems, and surround sound
Now is the time to confirm everything is positioned exactly where you expect it to be. Don’t worry, your agent is there to help verify this with you!
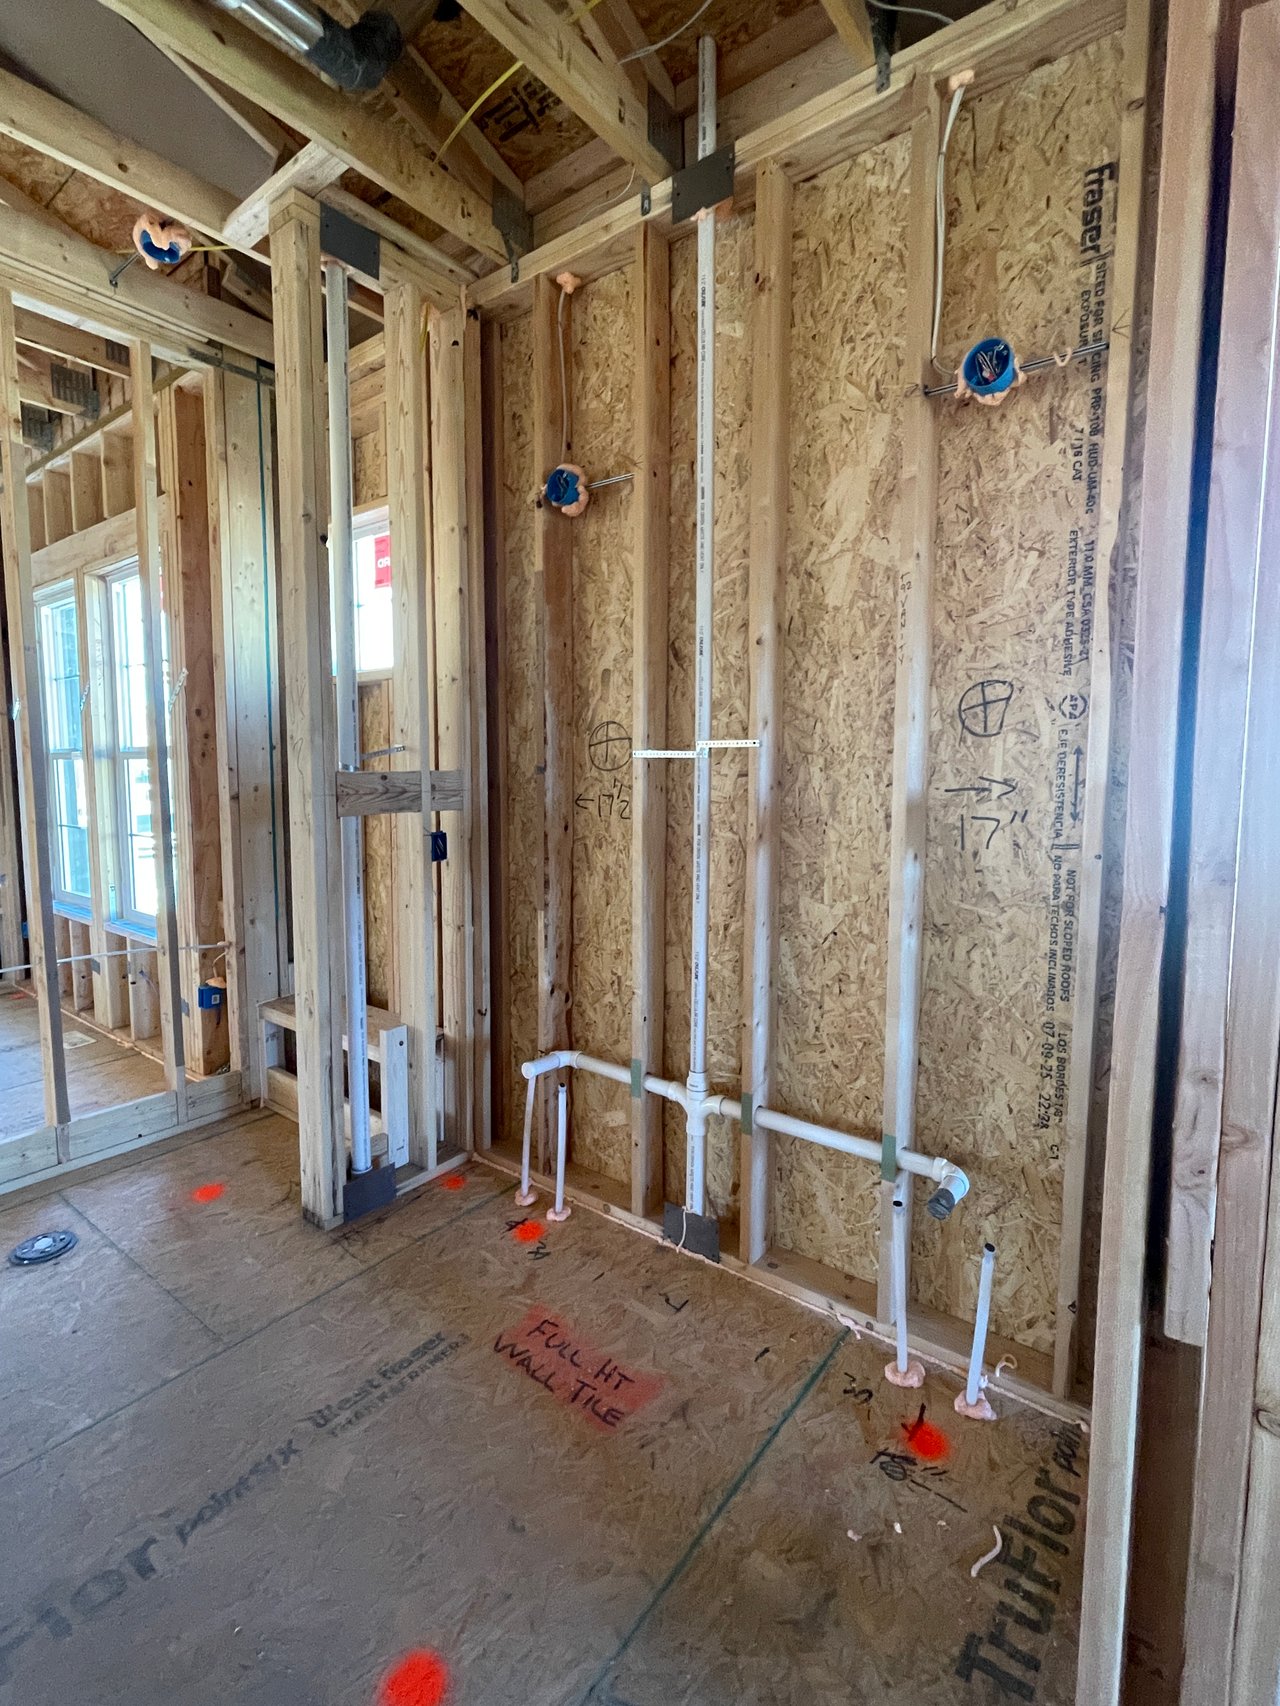
3. Plumbing & HVAC Systems
Before drywall, all plumbing and ventilation lines are fully visible. You’ll see:
- Water supply lines and shut-off valves
- Drain lines for sinks, tubs, and showers
- Venting for fireplaces, exhaust fans, and range hoods
- Furnace location, ductwork, and air returns
Because Colorado experiences significant temperature variation, HVAC efficiency is critical. Your builder may also review insulation plans, furnace ratings, and how airflow will be balanced throughout the home for year-round comfort with you.

4. Insulation & Energy-Efficiency Features
Depending on the construction schedule, insulation is usually installed shortly after your walkthrough. Most Colorado builders follow strict energy codes designed to improve comfort and lower utility costs. The construction team will be sure to look for:
- Proper sealing around windows and exterior doors
- Foam insulation in key areas if necessary
- Placement of vapor barriers
This is also a great time to ask how your builder minimizes energy loss and what to expect during the final inspection and blower-door test.
5. Confirming Your Personal Selections
This walkthrough is also a key moment to verify that everything you selected is being installed correctly. Your agent (and yes—hopefully that’s me!) will help ensure all upgrades and structural options align with your contract, including:
- Floorplan and layout selections
- Electrical and low-voltage packages
- Structural upgrades and design changes
Catching discrepancies early helps avoid costly changes later.
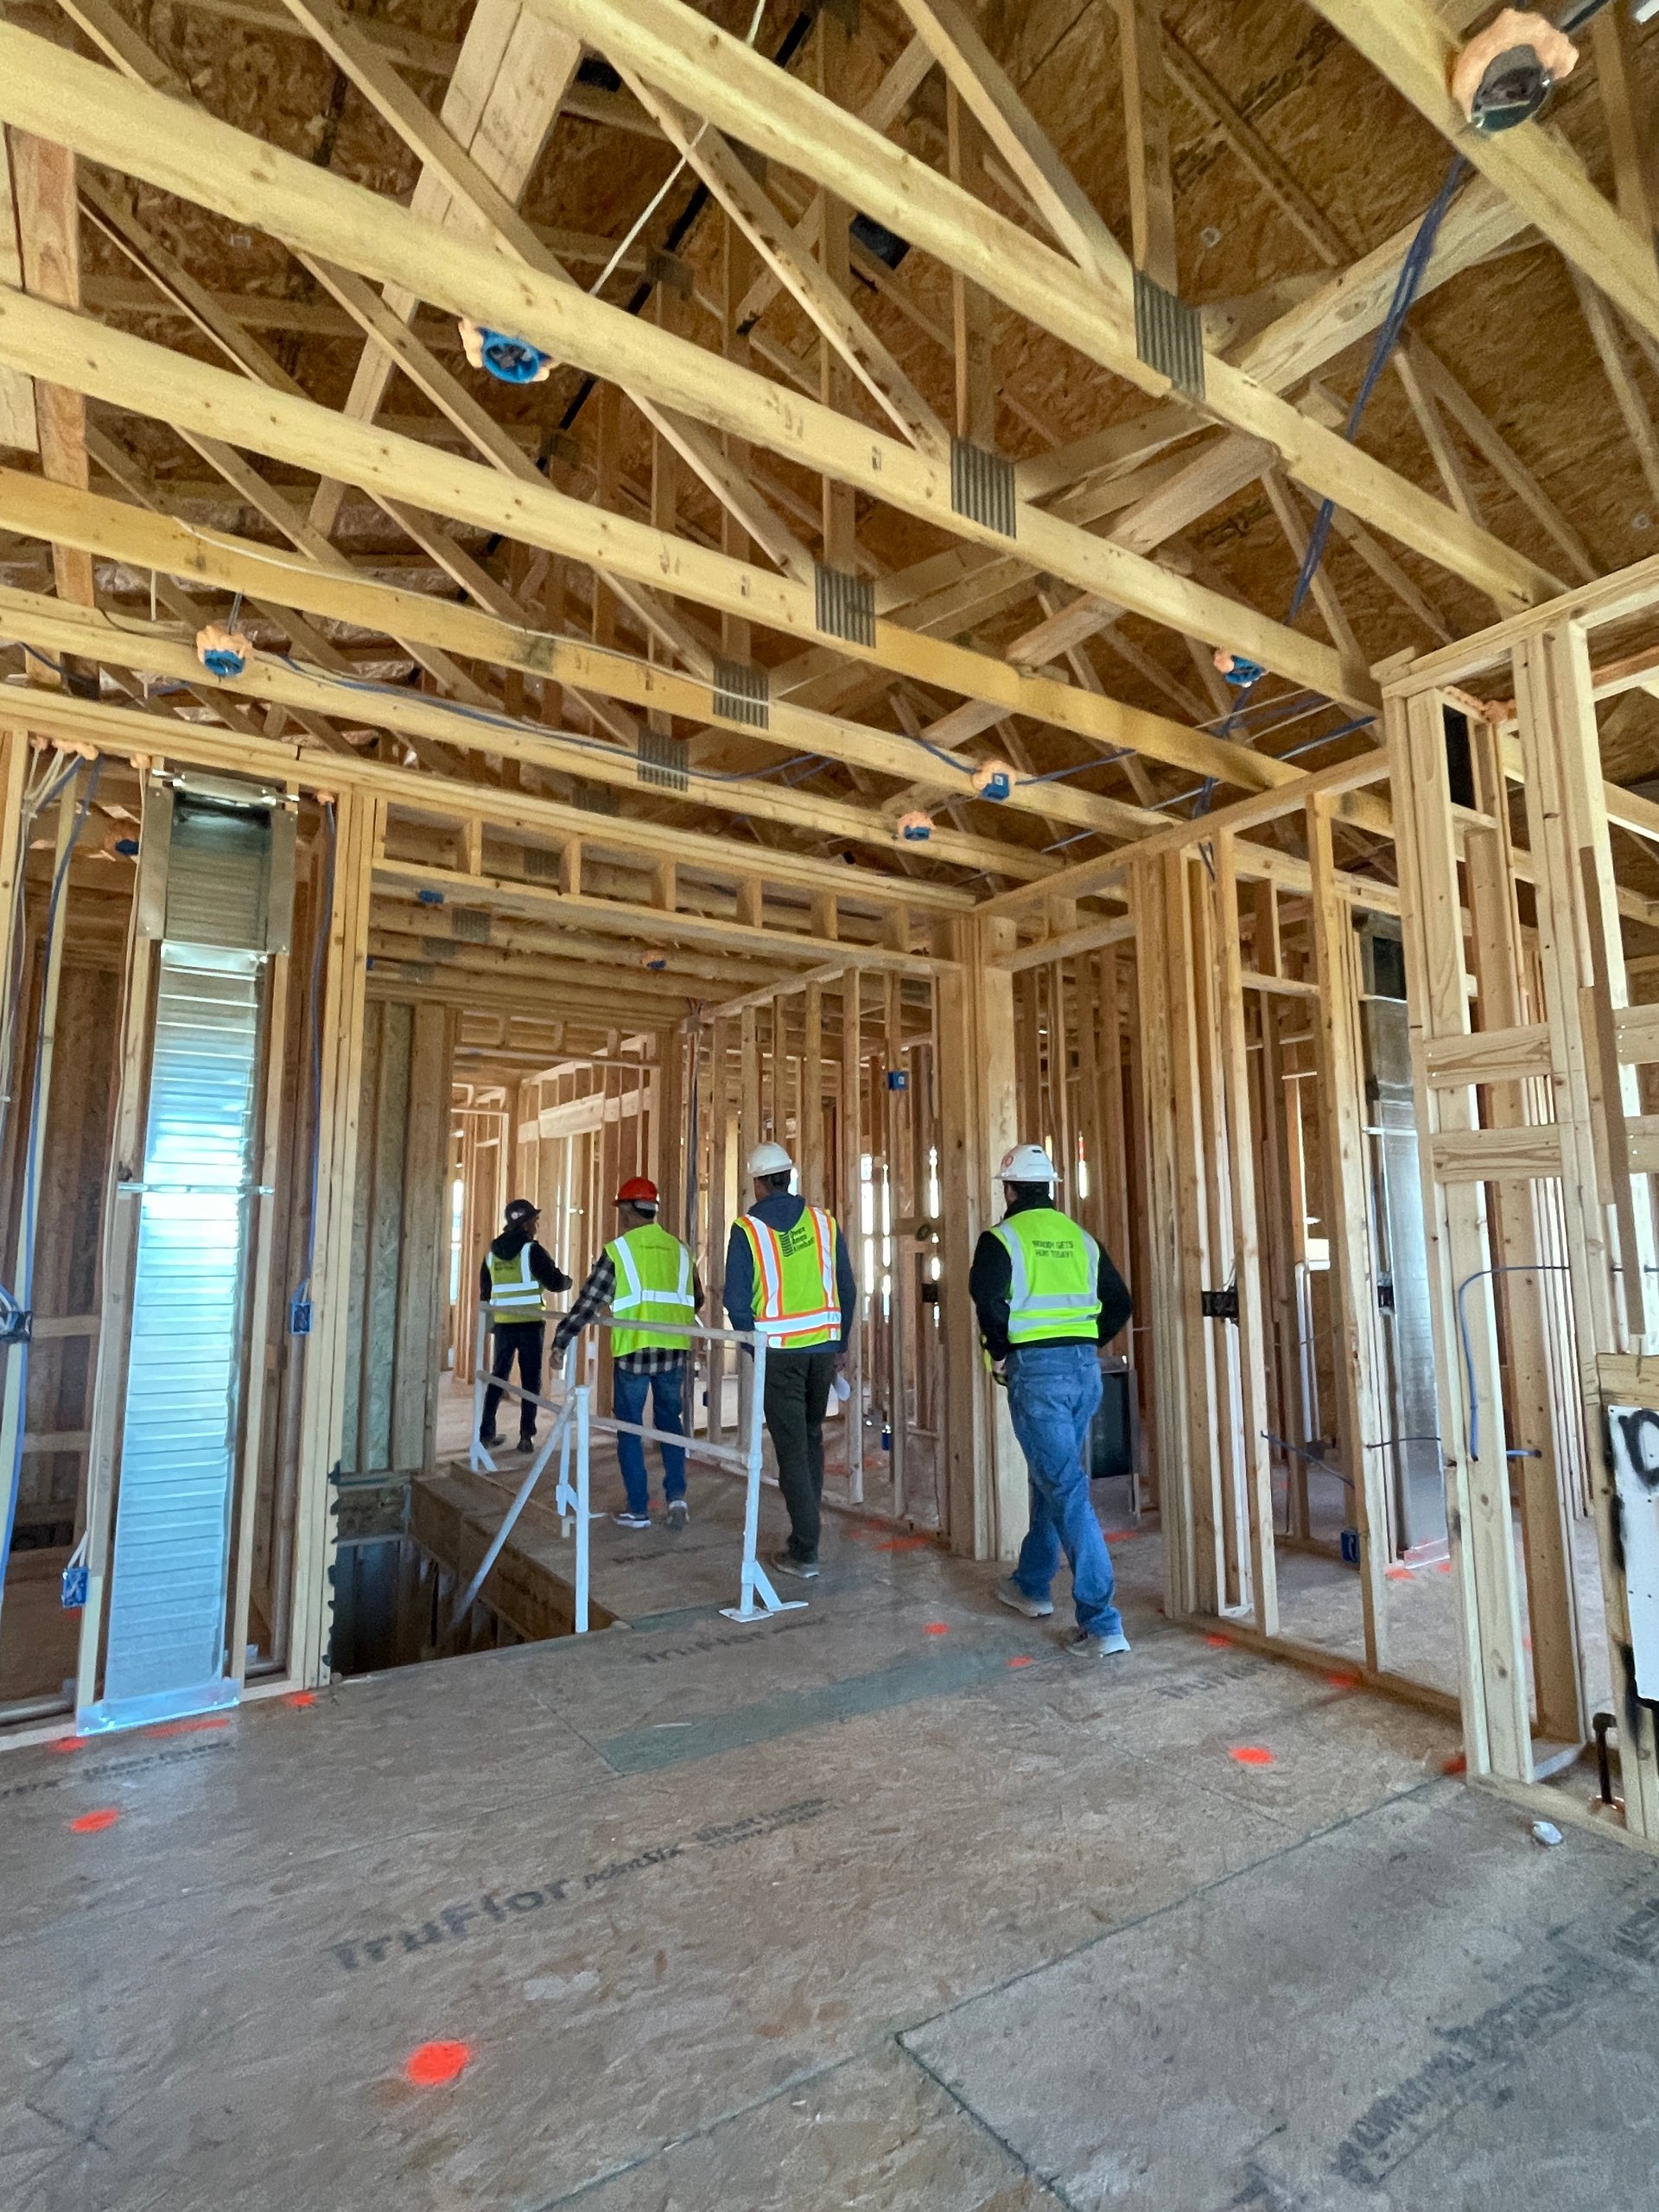
6. Asking Questions & Flagging Concerns
Treat the pre-drywall walkthrough as an open conversation with your builder. This is the ideal time to ask about:
- Future maintenance recommendations
- What phases of construction come next
- Any items that may need adjustment before insulation
- How weather or seasonal delays (common in Colorado winters) could affect timing
Be sure to take photos and videos before the drywall goes up. These can be incredibly helpful later when you need to know what’s behind the walls. Don’t worry, as your agent, I’ll take care of this for you and send it over in an organized file for easy reference in the future!
7. What Happens After the Walkthrough
Once your walkthrough is complete, the builder will:
- Address any action items or corrections
- Schedule insulation and drywall installation
- Provide updates on upcoming construction phases
- Prepare you for all the future milestones
From here, the transformation happens quickly: cabinetry, tile, flooring, fixtures, and finishes begin bringing your vision to life.
Final Thoughts: Your Advocate Throughout the Process
While the pre-drywall walkthrough can feel technical, you never have to navigate it alone. As your trusted Colorado real estate advisor, I’m there to ask the right questions, document progress, and ensure your investment is protected every step of the way. This walkthrough is an exciting milestone and one step closer to the moment your new home officially becomes yours!